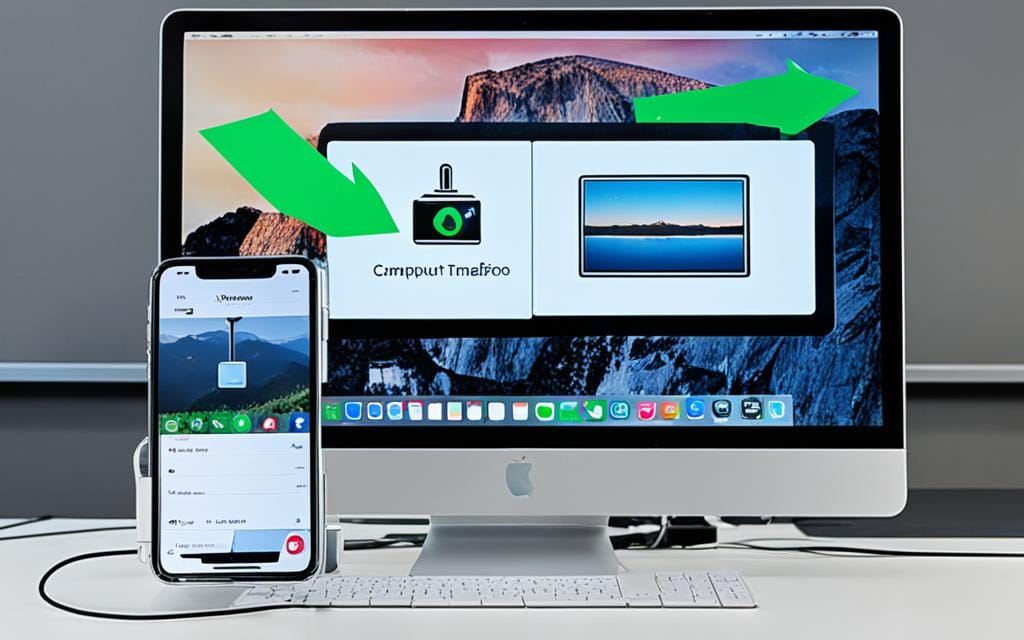
In today’s world, we take lots of photos with our iPhones. These become precious memories that we often want to move to our computers. You might do this to clear space on your phone, or to keep your photos safe and neatly organized.
Transferring your photos from your iPhone to your computer is easy. We will show you several ways to do it. By following our guide, your valuable pictures will be safe and easy to see on your computer.
Table of Contents
ToggleConnecting Your iPhone to Your Computer
Transferring photos from your iPhone to your PC is easy. You have several methods to choose from. One way is to use a Lightning cable to connect your iPhone to your computer. Let’s look at this classic method.
Using a Lightning Cable
The Lightning cable is what your iPhone uses to charge and transfer data. It’s a dependable way to link your devices. You can move photos from your iPhone to your PC quickly with it. Just match the ends of the cable. Plug one end into your iPhone and the other into a USB port on your PC.
Setting Up Wi-Fi Transfer
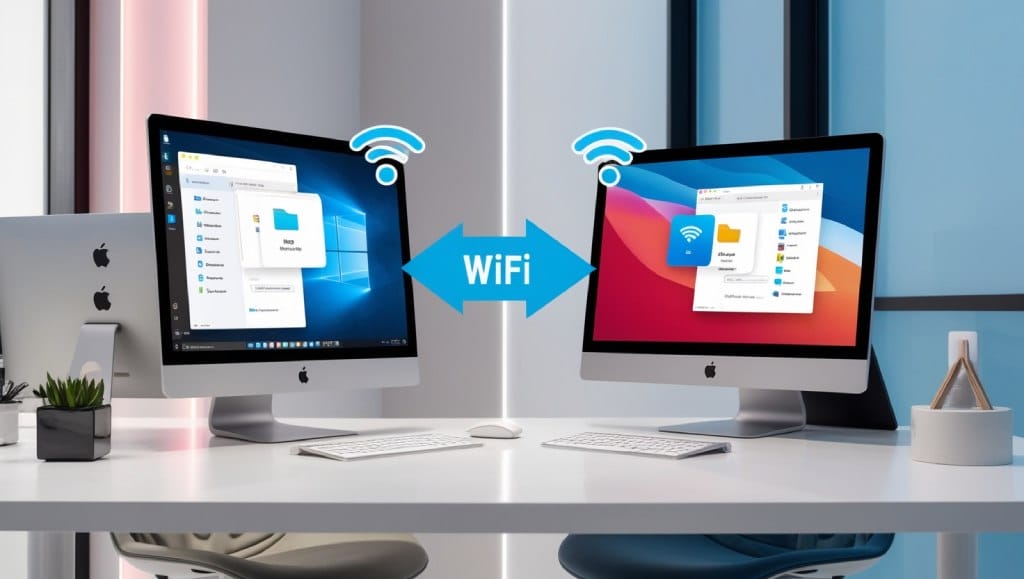
Or, you might like to go wireless. You can transfer photos over Wi-Fi without any cables. First, make sure your iPhone and PC are on the same Wi-Fi network. Then, you can start setting up to send photos wirelessly.
- On your iPhone, go to Settings > Photos and turn on “Share Photos” or “Send to PC”.
- On your PC, open the Photos app or File Explorer. Look for the option to connect to your iPhone via Wi-Fi.
- Follow the instructions on your screens to finish connecting. Then, you can begin transferring photos without a cable.
Whether you choose a direct cable connection or prefer to go wireless, you can easily connect your iPhone to your PC. Then, move your photos over using the method that works best for you.
Importing Photos from Your iPhone to Your PC
Getting your favorite photos from your iPhone to your PC is easy. After linking your iPhone to the computer, you’ll quickly move your photos. This is done by using your computer’s photo software, like Windows Photos or Apple’s Photos app.
First, make sure your iPhone and computer are linked. This can be done using a cable or wirelessly. Then, it’s just a few steps to bring your photos over:
- Launch the photo software on your PC, like Windows Photos or Apple Photos.
- Find the option to “Import” or “Download” photos from your iPhone.
- Pick the photos you wish to move. You can select all new ones or choose specific ones.
- Hit the “Import” or “Download” button to start moving them.
- After the transfer, you can sort and view your pictures in your PC’s photo hub.
The steps might change based on the software you use. But, the general process is easy and simple. This lets you learn how to import photos from iphone to pc and upload photos from iphone to computer fast.
| Software | Import Steps |
|---|---|
| Windows Photos | 1. Connect iPhone to PC via Lightning cable 2. Open Windows Photos app 3. Click “Import” and select photos to transfer |
| Apple Photos | 1. Connect iPhone to Mac via Lightning cable 2. Open Photos app 3. Click “Import” and select photos to transfer |
Just by the simple steps above, you’ll know how to import photos from iphone to pc and upload photos from iphone to computer. This way, you can enjoy and show your memories on your computer.
How to Transfer Pictures from iPhone to PC Using Cloud Storage
Want to move your iPhone photos to your PC without cables? iCloud is your go-to. It offers an easy way to move pictures. Let’s walk through the steps of getting your photos on iCloud and then on your computer.
Uploading Pictures to iCloud
First, ensure your iPhone and computer have the same iCloud account. Here’s what to do next:
- In your iPhone, open Photos. Pick the photos you want.
- Click the share icon (it’s an arrow pointing up) and press “iCloud”.
- Your photos will begin uploading to iCloud. This might take a while, based on the picture count and net speed.
After they upload, you can find your pictures in iCloud, ready for PC access.
Accessing iCloud Photos on Your PC
To view iCloud photos on your computer, you need the iCloud app. Here’s how to get it:
- Go to iCloud’s website (icloud.com) and sign in.
- Select the “Photos” icon to see your uploads.
- Now, you can download single photos or albums to your PC. Just hit the cloud download icon.
Or, you can have the iCloud app on your PC. It will automatically bring your iCloud photos to your PC, ready for use.
With iCloud, you can transfer photos from iPhone to PC using iCloud and sync iPhone photos to computer via the cloud. This method is convenient and secure, making your pictures accessible from anywhere.
Transferring Photos via Email or Messaging Apps
If you need to email photos from iPhone to PC or any computer quickly, emails are great. This way works best for sending just a few pictures without needing special tools.
Sending Photos as Email Attachments
To transfer photos from iPhone to computer using email, follow these steps:
- Open the Photos app on your iPhone and pick the photos you want to send.
- Tap the share icon, which looks like a square with an arrow pointing up.
- Choose “Mail” from the options you see to start a new email.
- Your chosen photos will be added to the email. Next, choose who to send it to.
- Write a subject and any message you want to include, then hit “Send.”
This way is simple for sharing your photos with a computer, but remember, emails have a size limit. It’s best for sending smaller batches of photos.
You can also use iMessage or WhatsApp to share photos with a computer. Just pick the photos, press share, and choose the app to send them through.
Using Third-Party Apps for Photo Transfer
Transferring photos from your iPhone to your PC is simple with the right apps. Third-party apps can make it easier and offer more features. These apps help with easy transferring, better organization, and even adding cool effects to your photos.
Let’s look at some top choices for moving your iPhone photos to your computer.
Top Third-Party Apps for iPhone to PC Photo Transfer
One top choice is Google Photos. It’s easy to use and lets you store your iPhone photos in the cloud. This means you can see your photos on any device, including your PC.
Another option is Dropbox. It connects your iPhone and computer well, making it easy to manage photos across both devices.
For Mac and iOS owners, AirDrop is very handy. It lets you send photos and files between your devices quickly and without cables. This is perfect if you use both an iPhone and a Mac computer.
| App Name | Key Features | Pricing |
|---|---|---|
| Google Photos |
|
Free with Google account |
| Dropbox |
|
Free basic plan, paid plans available |
| AirDrop |
|
Free on Apple devices |
These are only a few of the many apps that can help you transfer photos. Take your time to look at the options to find what’s best for you. Whether you want cloud storage, wireless transfers, or better editing features, there’s an app out there for you.
How to Transfer Pictures from iPhone to PC
Moving photos from your iPhone to your PC is not very hard. You can do it in several ways. This guide will show you each step, making sure your photos get to your computer.
Using a Lightning Cable
Using a Lightning cable is easy and fast. Here’s how to do it:
- Plug one end of the Lightning cable into your iPhone. Plug the other end into a USB port on your PC.
- Unlock your iPhone and allow access to photos when asked.
- Open the Photos app or Windows Explorer on your PC. You should see your iPhone’s photos there.
- Choose the photos you want and move them to where you want on your PC.
Utilizing Wi-Fi Transfer
If you like going wireless, you can use Wi-Fi instead. Here’s what to do:
- Make sure your iPhone and PC are on the same Wi-Fi.
- On your iPhone, go to Settings > Photos. Turn on “Share Photos” or “Upload to PC”.
- On your PC, open the Photos app or Windows Explorer. Look for your iPhone’s photo library.
- Choose the photos to send. Then, drag and drop them on your PC.
With these instructions, moving your photos from your iPhone to your PC is easy. Your memories will be safe on your computer.
Organizing and Managing Transferred Photos
After you move your iPhone photos to your PC, it’s time to keep them organized. A well-organized collection lets you easily look, share, and enjoy your favorite memories. We will look at ways to make your photo library neat and nice to look at.
Creating Folders and Albums
To start, make a clear folder arrangement on your PC. This makes finding and using your photos much simpler. Think about sorting by events, places, or by the year the photos were taken. Doing this keeps your pictures easy to find without any confusion.
Also, make custom albums to group similar photos. For instance, you could make one for a family trip or a birthday. This makes your library tidier and helps you view sets of images fast.
To make folders and albums for your iPhone photos, use your PC’s file system. Depending on your PC, you might right-click where you want a folder and select “New Folder.” Then, place your photos where you want them to keep everything tidy.
It’s smart to spend time organizing your iPhone photos on your PC. This way, you can find, share, and enjoy them more easily in the future. A well-organized library means your digital memories are ready to view and enjoy any time.
Tips for Efficient Photo Management
Getting your iPhone photos onto your PC is step one. To keep them tidy and easy to find, we’ve got some top tips. By doing this, you can handle your iPhone photos better. This way, you get to enjoy looking back at your digital snaps.
Regularly Back Up Your Photos
Protecting your photos is key. Back them up often to a hard drive or the cloud. This will keep your memories safe from accidents, and you can relax.
Utilize Folder Organization
Set up folders to arrange your photos neatly. You can sort them by date, event, or what makes sense for you. It makes finding specific pictures a breeze.
Apply Descriptive Filenames
Consider giving your photos clear names when you move them from your iPhone. This makes it easy to know what’s in each picture. It’s great for managing your photos well.
Leverage Photo Editing Tools
Use editing tools to make your photos even better. You can crop, fix the light, or add special touches with filters. It turns your memories into something amazing.
Utilize Geolocation Data
Your iPhone photos might have where they were taken. Use this to sort them by location. It’s a fun way to remember past trips and moments.
These tips help keep your iPhone photos in top shape on your PC. They make sure your memories are safe and easy to enjoy whenever you want.
Conclusion
Throughout our journey, we’ve learned various ways to move your precious photos from your iPhone to your PC. You can connect with a cable or go wireless via Wi-Fi – both offer great flexibility. This lets you pick what works best for you.
We also explored cloud storage options like iCloud. They let you keep your photos safe while also offering easy ways to share. Through email or messaging apps, sharing your photos becomes straightforward. And don’t forget about the helpful third-party apps. They make moving photos even easier.
At the end of our guide, you should feel ready to take on moving your iPhone photos to your PC. It’s all about keeping your memories safe and easy to reach. With the right steps and tools in mind, you can enjoy your favorite moments for years to come.
FAQ
What are the different methods for transferring pictures from my iPhone to my PC?
Several ways exist to move your photos from iPhone to PC. You can use a Lightning cable, Wi-Fi transfer, iCloud, or third-party apps. Sending photos through email is also an option.
How do I connect my iPhone to my computer using a Lightning cable?
It’s easy to connect your iPhone and PC with a Lightning cable. Just plug it in. One end goes into your iPhone, the other into your computer. This way, you can easily transfer your photos.
Can I transfer photos from my iPhone to my PC wirelessly?
Definitely! You can transfer photos from your iPhone to your PC without a cord. We’ll help you do it by setting up Wi-Fi transfer.
How do I import photos from my iPhone to my PC?
If you connect your iPhone to your PC, you can import photos. Use a cable or go wireless. Then, follow our simple steps to do this.
Can I use iCloud to transfer photos from my iPhone to my PC?
You can easily move photos with iCloud. It’s a smooth way to get photos from your iPhone to your PC. We’ll show you how.
Is it possible to transfer photos from my iPhone to my PC using email or messaging apps?
Yes, you can send photos to your PC via email from your iPhone. It’s good for a few photos. This makes transferring photos simple.
Are there any third-party apps that can help me transfer photos from my iPhone to my PC?
Indeed, many apps can help with photo transfer. These apps make moving photos easier and offer more options. We’ll suggest a few top picks.
How do I organize and manage the photos I’ve transferred from my iPhone to my PC?
After moving your photos, we’ll share tips on organizing them. Learn how to create albums and folders. This keeps your photo collection neat.
Do you have any additional tips for efficient photo management after transferring from my iPhone to my PC?
Yes, we offer great tips for managing your photos well. These tips help keep your memories safe and easy to find.

