In the digital age, it’s key to grab and share what’s on your screen. You might want to keep a record of a software problem, show a how-to, or save a happy moment. We’re here to show you the many ways to snap your screen on a Windows computer. You’ll learn methods that make it simple to keep and share things you see on your screen.
You’ll get to try various ways, from your Windows features to extra apps made for screenshots. By the end, you’ll know just what to do. You’ll take sharp and clear screenshots. These are great for sharing and saving your favorite moments.
Table of Contents
ToggleWhat is a Screenshot?
A screenshot is like taking a photo of your computer screen at a moment in time. It’s a picture showing what you see on your screen. These images are useful for many things. For example, they help show how software works, share what you’re seeing, or get help with technical issues.
Understanding the Purpose of Capturing Screen Content
Screenshots are great for lots of reasons. They’re helpful at work or when you’re just using your computer. Let’s look at why people take them:
- Documenting software or website processes: They can show each step, any errors, or what the screen looks like at a certain point. This makes it easier to fix things or explain to others.
- Sharing visual information: Sometimes, it’s hard to explain with just words. Screenshots let you show images or diagrams clearly and quickly.
- Providing technical support: When you need help, a screenshot can quickly show what’s wrong. It helps support teams get what you’re experiencing.
- Capturing memories or moments: Use screenshots to keep a record of winning a game, cool website designs, or special occasions. These moments are saved forever.
- Collaboration and feedback: By sharing and editing screenshots, teams can work better together. They’re great for planning and giving input on projects.
Taking and using screenshots is a powerful way to be more efficient and communicate better, whether at home or at work. It’s a skill we all can benefit from.
| Benefits of Taking Screenshots | Examples |
|---|---|
| Documenting software or website processes | Capturing step-by-step instructions, error messages, or specific screen states |
| Sharing visual information | Capturing images, diagrams, or other visual content |
| Providing technical support | Communicating problems and helping support teams understand the situation |
| Capturing memories or moments | Saving achievements in a game, unique website designs, or special events |
| Collaboration and feedback | Annotating, sharing, and discussing screenshots for remote collaboration, project planning, and providing feedback |
How to Take a Screenshot on PC: Simple Methods
Taking screenshots on your PC is not hard. There are many easy ways to do it. We will look at the most popular ways, using Windows tools and shortcuts. By the end, you’ll know how to grab anything on your screen quickly.
Using the Print Screen (PrtScn) Key
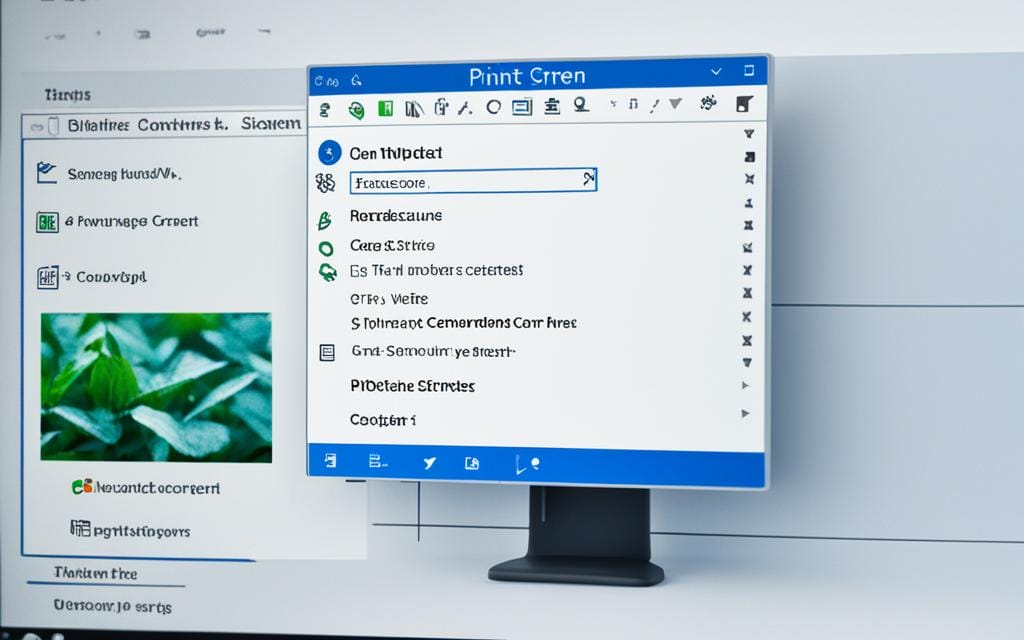
To snap your whole screen fast, use the Print Screen (PrtScn) key. It’s right at the top of most keyboards. Press it, and a copy of your screen will be ready to paste. You can paste it into a picture editor or a document.
Capturing a Specific Window
Maybe you just want one window, not the whole screen. Use Alt + PrtScn for this. It will only capture the window you are using. Then, you can paste it where you need it.
Utilizing the Snipping Tool
There is a special tool in Windows for taking screenshots called the Snipping Tool. It lets you take shots of parts of your screen or the whole thing. You can even do timed screenshots. It has tools to draw on your pictures or add text too, which is handy.
- Open the Snipping Tool from the Start menu or search for it.
- Choose how you want to capture the screen (free-form, rectangular, window, or full-screen).
- Click and drag to capture the area you want.
- After taking the shot, edit, save, or share it.
Learning these methods makes taking screenshots simple. Whether you need the whole screen, just one window, or a specific spot, you’re covered. It’s great for saving tech problems or showing info to others.
Using the Print Screen (PrtScn) Key
The Print Screen (PrtScn) key is easy and handy for taking screenshots on your PC. With one button press, you can save what’s on your screen. It’s perfect for fixing problems or showing things to others.
Capturing the Entire Screen or Active Window
There are two ways to take screenshots using the Print Screen key. You can snap the whole screen or just the open window. Here’s how to do each:
- Capture the Entire Screen: Press the Print Screen (PrtScn) key. This takes a picture of everything you see. You can then paste it into other programs, like an email or an image editor, or show it to someone.
- Capture the Active Window: If you want just the window you’re using, hit Alt + Print Screen (PrtScn). It captures only the active window’s image. This helps when you don’t need the whole screen.
After taking the shot, you can paste it almost anywhere. Put it in a word document, an image editing tool, or send it directly to a friend. This flexibility is what makes the Print Screen key great for sharing what you see on your screen.
| Screenshot Method | Keyboard Shortcut | Description |
|---|---|---|
| Capture Entire Screen | Print Screen (PrtScn) | Takes a screenshot of your entire desktop |
| Capture Active Window | Alt + Print Screen (PrtScn) | Takes a screenshot of the currently active window |
Getting familiar with the Print Screen key will make taking screenshots quick. It lets you save or share what’s on your screen easily. Whether you’re highlighting a computer problem, teaching, or just keeping a memory, this key is really useful.
Snipping Tool: A Versatile Screenshot Utility
No more complex steps for taking screenshots. The Windows Snipping Tool makes it easy to capture and edit your screen shots. Its features are perfect for any type of work or fun projects.
Customizing Captures with Annotation Tools
The real magic behind the Snipping Tool is making your screenshots better. After capturing an area, use cool drawing tools to improve what you see. You can draw, highlight, add text, and shapes to make your images clear and attractive.
Let’s see how the Snipping Tool makes basic screenshots more fun and useful:
- Pen: Draw freehand lines and shapes to call attention to specific areas.
- Highlighter: Emphasize important information with vibrant highlights.
- Eraser: Refine your annotations by selectively removing elements.
- Text: Add captions, labels, or explanatory notes to your screenshots.
- Shapes: Insert geometric shapes, such as rectangles and circles, to frame key details.
Enhance your screenshots with these amazing tools. You can make tutorials, design feedback, or improve your messages with just a few clicks. The Snipping Tool makes it easy to do more with your images.
| Snipping Tool Feature | Description |
|---|---|
| Pen | Draw freehand lines and shapes to call attention to specific areas. |
| Highlighter | Emphasize important information with vibrant highlights. |
| Eraser | Refine your annotations by selectively removing elements. |
| Text | Add captions, labels, or explanatory notes to your screenshots. |
| Shapes | Insert geometric shapes, such as rectangles and circles, to frame key details. |
The Snipping Tool’s features let you do more with your screenshots. You can make them clear and interesting. It’s great for tutorials, design feedback, or just making your messages better.
How to Take a Screenshot on PC with Third-Party Tools
Windows has its own tools for screenshots, but many third-party options exist. These third-party screenshot tools, screenshot software, and screenshot apps have cool features. They include better editing, saving to the cloud, and capturing long pages. Here, we will look at some top third-party tools and their special advanced screenshot features.
Snagit by TechSmith stands out with its many features. It can take regular screenshots and screenshots of long pages. You can add notes, drawings, and even make screen videos. Snagit works well with cloud storage too, which makes sharing easy.
PicPick is another favorite because it’s free. It lets you capture, edit, and save screenshots easily. With PicPick, you get various editing tools and can save in many formats. It also includes a feature-packed image editor.
- ShareX is an advanced, free tool for screenshots. It can take pictures of long pages, add special effects, and upload to famous image sites.
- LightShot is simple and lightweight. It’s perfect for quick snapshots and easy sharing. Although it’s simple, it’s great for many basic needs.
Choosing a third-party tool means better control and more options for screenshots. These tools can make your work smoother and help you make better images.
Sharing and Saving Screenshots Effectively
After snapping a great screenshot, the next goal is to save and share it the right way. It can be hard to deal with screenshots, but applying smart methods makes it much easier. This way, everyone can get to and enjoy the pictures you’ve taken.
File Formats and Storage Options
There are many ways to save screenshots, each with benefits of its own. The common formats include:
- PNG (Portable Network Graphics): This format doesn’t lose quality and works well for pics with clear or detailed graphics.
- JPEG (Joint Photographic Experts Group): It’s good for images with lots of colors, such as photos.
- GIF (Graphics Interchange Format): This type allows transparent backgrounds and even moving images.
When it comes to keeping them, you’ve got a few choices to sort and share your screenshots. Using web-based services like Google Drive or Dropbox can make it easy. You might also save them on your computer or an external drive.
No matter what formats or storage you go for, keeping everything organized is key. Sort your screenshots into folders or give them clear names. This helps you find what you’re looking for fast.
With the right knowledge about formats and saving methods, your screenshots will always be there for you to share or work on with others.
How to Take a Screenshot on PC with Keyboard Shortcuts
When it comes to grabbing stuff on your PC screen, shortcuts are your best friend. They’re quick and easy to use. You don’t even need a mouse. Let’s check out the best shortcuts for taking screenshots on a Windows computer.
Windows Screenshot Shortcuts
The Print Screen (PrtScn) key is the old favorite. Pressing it captures everything on your screen. It’s saved to your clipboard. You can paste it into apps or documents. To grab just the window you’re working in, press Alt + Print Screen instead.
Want to skip the paste step? Use Windows Key + Print Screen. It saves your capture right to your Pictures > Screenshots folder. Neat, right?
Quick Screenshot Shortcuts
- Windows Key + Shift + S – Triggers the Snipping Tool for selecting a specific area to capture.
- Windows Key + G – Opens the Game Bar with a screenshot feature, great for catching gameplay.
- Windows Key + H – Starts the Share menu, making it easy to send your screenshots to different apps or services.
With these handy screenshot keyboard shortcuts, taking and sharing screenshots gets way easier. You’ll shave off valuable time when working with screen images.
| Shortcut | Action |
|---|---|
| Print Screen (PrtScn) | Captures the entire screen and copies it to the clipboard |
| Alt + Print Screen | Captures the active window and copies it to the clipboard |
| Windows Key + Print Screen | Captures the entire screen and saves it to the Pictures > Screenshots folder |
| Windows Key + Shift + S | Activates the Snipping Tool for custom screenshot selection |
| Windows Key + G | Opens the Game Bar with a screenshot tool |
| Windows Key + H | Launches the Share menu for quick screenshot sharing |
With these screenshot keyboard shortcuts, you’ll do your work faster. Documenting, sharing, or changing screen images will be a breeze.
Troubleshooting Common Screenshot Issues
Taking screenshots on your PC seems simple, but you might hit a few bumps. We will look at the usual issues for screenshot taking and ways to fix them.
Resolving Problems with Screen Capturing
It’s really annoying when your screenshot doesn’t save right or looks bad. Many things can cause this, like your computer’s settings, software that doesn’t play well together, or even just your device’s limits. Here are some tips to tackle these screenshot troubleshooting problems:
- Make sure you’re saving in a good format and a place you can find: Save your screenshots as PNG or JPEG. Check your save location is handy.
- Double-check your shortcut or the tool you’re using: Be sure you’ve got the right key combo or app for screenshots. This is to make sure they’re working as they should.
- Keep your graphics drivers up to date: Old or bad graphic drivers might be the cause. Update them and see if things get better.
- Shut down any programs that might be messing it up: Other apps can sometimes cause problems with your screenshots. Close any you don’t need and try again.
- Play with your screen settings: Poor resolutions or settings might be the issue. Change things around to get better screenshots.
By using these steps, you should sort out your screenshot problems. Then, taking screen grabs will be a breeze.
Best Practices for Taking Clear and Concise Screenshots
To make your screenshots both helpful and eye-catching, you need to stick to some key rules. We will give you advice on how to take clear, to-the-point, and informative screenshots. We’ll talk about selecting the best image quality and proper file size. These will help you feature the most crucial details on your screen grabs.
First thing, always go for high-res screenshots. This makes your images crisp, clear, and easy to see. Make sure your image files are not too big. They should keep their quality but not be hard to share. Finding the perfect balance ensures your images look great and are practical to use.
When you take a screenshot, think about what you need to show clearly. Add notes, arrows, or text to point out key areas. This method helps viewers quickly grasp the point of the screenshot. It makes the whole message more understandable.
FAQ
What is the purpose of taking screenshots?
Screenshots help in many ways. They can show software steps, share visual info, and help with tech support. They let us keep a picture of what’s on our screens at any time.
What are the different methods for taking screenshots on a PC?
On a PC, you can use the Print Screen key, the Snipping Tool in Windows, or third-party apps. These tools have features to fit your needs.
How do I use the Print Screen (PrtScn) key to capture screenshots?
Pressing ‘Print Screen’ captures the whole screen. ‘Alt + PrtScn’ captures just the active window. Afterward, you can paste it in an editing program or a document.
What is the Windows Snipping Tool and how does it work?
The Snipping Tool in Windows lets you choose an area to screenshot. You can also draw or write on the screenshot. This gives you more ways to customize your screenshots.
Are there any third-party tools available for taking screenshots on a PC?
Many third-party apps for screenshots offer more features. They have better editing, save to the cloud, and can capture long pages. These apps give you more tools for managing your screen content.
How do I effectively save and share my screenshots?
Save screenshots in the right format and organize them. Then, share them by email, social media, or with cloud storage. This helps share the info they show with others.
What are some keyboard shortcuts for taking screenshots on a PC?
Windows has handy shortcuts for quick screenshots. Using shortcuts like ‘Windows + Print Screen’ or ‘Windows + Shift + S’ helps you capture screens faster.
How can I troubleshoot common issues when taking screenshots on a PC?
Sometimes, screenshots might not save or look bad. If you have issues, check your settings, update apps, or restart your PC. These steps usually solve the problem.
What are some best practices for taking high-quality and informative screenshots?
To make great screenshots, consider image quality and what you’re highlighting. Focus on clearness, concise info, and making your screenshots look good.

