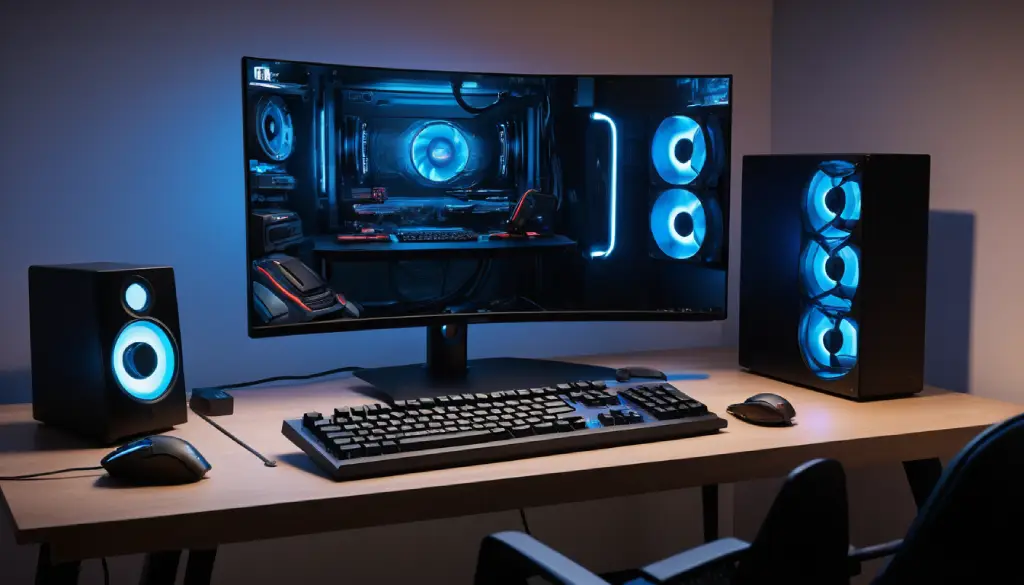
Building your own custom PC can be really fulfilling. It lets you make a computer that fits you perfectly. We’ll guide you through picking the right parts and assembling your PC. Even if it’s your first time or you’ve done this before, you’ll learn how to craft a computer that meets your needs.
We start by helping you choose a strong CPU and a fitting motherboard. You’ll get the hang of selecting RAM and storage that work for you. We’ll show you the wonders of graphics cards and how to keep your system running cool and smooth. Besides that, our guide will make installing BIOS and the operating system easy.
We stress the importance of testing and making your PC work its best. And, tips for maintaining your computer to last a long time. Let’s start this fun journey of making your dream PC!
Table of Contents
ToggleBuilding Your Dream PC: An Introduction
Creating your own computer has many upsides. It allows you to pick each part carefully. This ensures your computer fits your needs perfectly. Plus, it often costs less than buying a ready-made computer.
This section explains why building your computer is a great idea. Whether you’re already a tech lover or just starting out, the process is exciting. You get to learn a lot and end up with a machine that’s truly yours.
The Benefits of Building a PC
There are several good reasons to build your own PC:
- Customization: Building a PC lets you choose each part. You can pick the best CPU, enough storage, or a powerful graphics card. This makes your computer ideal for what you love doing, whether it’s work or play.
- Cost Savings: Buying parts separately can be cheaper than getting a complete computer. This is especially true for powerful or advanced PCs. Choosing your own parts can save you a lot of money.
- Improved Performance: Creating your PC means you can make sure it runs smoothly. This is great for things like editing videos, creating 3D art, or playing games. Each part is essential for top-notch performance.
- Enhanced Understanding: Building a PC is a learning opportunity. You’ll find out how computers work and what parts they need. This can be very useful if you run into problems or if you’re thinking about a tech job.
- Sense of Accomplishment: Successfully building your computer is a big deal. It’s a journey of picking, learning, and building. It leaves you feeling good and knowing your computer inside out.
Next, we’ll show you how to build your PC step by step. You’ll see how to make the most of these benefits. And you’ll end up with a computer that’s perfect for you. So, get set for a fun and rewarding project. Let’s build your dream computer!
Choosing the Right Components
Creating your custom PC is a thrilling experience. The heart of your setup comes from picking the best core components. Here, we’ll focus on selecting a top-notch CPU and the ideal motherboard to go with it.
Selecting a Powerful CPU
Your PC’s brain is the CPU. It handles all instructions and powers the system. It’s vital to choose the best CPU for your needs. Look at features like architecture, core count, and how much you can overclock. These will shape your PC’s performance.
Think about what you’ll mostly do with your PC. Do you game a lot, create content, or need to run many tasks? Your CPU choice should match what you do daily. Intel and AMD have lots to offer, fitting different budgets and demands.
Picking the Perfect Motherboard
The motherboard connects all your components. It’s key to look at the form factor, chipset, and if it works with your CPU and other parts. This choice is crucial for your PC’s ability to grow and its overall performance.
Choosing the motherboard wisely is very important. It affects your PC’s memory support, overclocking, and more. It can really boost your PC’s capabilities and how it performs. So, don’t overlook its importance when setting up your custom PC.
| Component | Key Considerations |
|---|---|
| CPU |
|
| Motherboard |
|
Choosing key components like the CPU and motherboard wisely sets your PC up for success. It tailors your PC to your exact needs, promising a top-tier computing journey.
Mastering RAM and Storage
Choosing the right RAM and storage for your dream PC is key to its performance. We’ll look at the various types of RAM and storage, like SSDs and HDDs. This will aid you in making the best choice for your PC build.
Selecting the Perfect PC RAM
RAM is vital for your computer’s quick data access. When choosing RAM, remember these points:
- It’s good to have at least 8GB, but 16GB or more is better for most users.
- Choose RAM with a higher clock speed for quicker tasks and data access.
- Right now, DDR4 RAM is the best because it offers more power and efficiency.
Exploring Storage Options: SSD vs. HDD
Deciding between SSDs and HDDs can greatly affect your PC’s speed. Let’s compare SSDs and HDDs:
| Feature | SSD | HDD |
|---|---|---|
| Access Time | Extremely fast (milliseconds) | Relatively slow (milliseconds to seconds) |
| Data Transfer Rates | High (up to 550MB/s) | Moderate (up to 150MB/s) |
| Durability | More durable (no moving parts) | Less durable (prone to physical damage) |
| Cost per GB | Higher | Lower |
An ideal setup includes a big HDD for storing lots of data. Add a smaller yet faster SSD for your system and often-used apps. This mix balances cost with performance.
Choosing the correct RAM and storage options is crucial. It unlocks your PC’s full capability. Plus, it guarantees a fluid, fast, and effective user experience.
Unlocking Graphics Power
Many PC lovers see the graphics card as the heart of their custom setups. This is especially true for those into gaming or tasks that need a lot of graphics power. We’ll look closely at GPUs, showing the main differences between integrated and dedicated graphics. Also, we’ll help you choose the best graphics card for what you need, taking your budget into account.
Understanding GPUs
A GPU is a Graphics Processing Unit. It’s a special chip that deals with all the math needed to show graphics. You get two main types: integrated, which is inside the main CPU, or dedicated, which is a separate card you add to your computer.
If you care about using less power, integrated GPUs are good. But if you want top-notch power for things like PC gaming, dedicated GPUs are the way to go.
When thinking about gpu selection and graphics card choice, remember to look at a few things. Pay attention to its processing power and the amount of video memory it has. Think about whether it’ll work with your computer’s setup. Better GPUs can make a huge difference in how well your computer runs. Gamers and people who create content both need powerful GPUs.
Choosing the Right Graphics Card
Picking the best graphics card for your setup can be hard because there are so many to choose from. To figure it out, think about what kind of screen you have and how fast it refreshes. Consider what games or apps you’ll use and stay in your budget.
- For games at 1080p, check out the NVIDIA GeForce RTX 3060 or the AMD Radeon RX 6600 XT.
- If you play at 1440p or 4K, look into the NVIDIA GeForce RTX 3080 or the AMD Radeon RX 6800 XT. These offer good performance.
- For making videos or 3D models, you’ll want a GPU with lots of video memory. The NVIDIA GeForce RTX 3090 or the AMD Radeon RX 6900 XT are excellent options for these tasks.
Your final graphics card choice relies heavily on what you need and can spend. The right GPU can make your custom PC shine, giving you top-notch PC gaming performance.
Powering Up: The Importance of PSUs
The power supply unit (PSU) is vital when creating a personal computer. It’s the unsung hero, providing the energy your PC needs to run smoothly. The correct PSU choice ensures each part of your build works at top performance.
To pick the right pc power supply selection, first figure out your system’s energy needs. This includes knowing how much power your CPU and graphics card require. It’s essential to choose a PSU with enough wattage. This prevents any system bugs or crashes.
Choosing a PSU isn’t just about power. Its psu efficiency matters too. PSUs that use energy wisely are better because they produce less heat. This keeps your system cool and stable. Aim for PSUs with high efficiency, marked 80 Plus Bronze, Silver, or Gold, to save energy and money.
Make sure the PSU you pick has the right power connectors for all your components. This means checking it can support your CPU, motherboard, and graphics card. Knowing this ensures your components fit well together.
| PSU Capacity | Recommended for | Efficiency |
|---|---|---|
| 500-600W | Entry-level gaming PCs | 80 Plus Bronze |
| 650-750W | Mid-range gaming PCs | 80 Plus Silver |
| 800-1000W | High-end gaming PCs with multiple GPUs | 80 Plus Gold |
Choosing the right PSU is crucial for your computer’s performance, efficiency, and stability. Spend time researching to find the best PSU for your needs. Doing so will help you build the dream PC you’ve always wanted.
Cooling Solutions for Optimal Performance
Building a high-performance PC is thrilling, but keeping it cool is key. Good cooling stops overheating, ensuring your PC works well for a long time. We’re going to dig into pc cooling solutions like cpu cooler types and case airflow management. This info will help you pick what’s best for your PC.
CPU Coolers Explained
Your PC’s cooling starts with the CPU cooler. There are air and liquid types. Air coolers, common and affordable, use fans and heatsinks. Liquid coolers move liquid in a loop to cool the processor efficiently.
- Air Coolers: They’re popular and budget-friendly for cooling. They vary in size and style, affecting how well they cool and the noise they make.
- Liquid Coolers: Offering top-notch cooling, they often beat air coolers at a price. Setting them up is a bit harder.
Case Fans and Airflow
Case fans and how air flows in your PC are also vital for keeping it cool. They prevent hot spots by handling heat. The right fans can make air flow in or out, keeping temperatures smooth.
- Intake Fans: These pull cool air into the system from the front.
- Exhaust Fans: Set at the back or top, they push hot air out.
- Balanced Airflow: It’s important to set up the fans right for case airflow management to work well.
Knowing about cpu cooler types and case airflow management is key. It helps your custom PC stay at the right temperature, running smoothly for years.
| Cooling Solution | Pros | Cons |
|---|---|---|
| Air Coolers |
|
|
| Liquid Coolers |
|
|
The Assembly Process
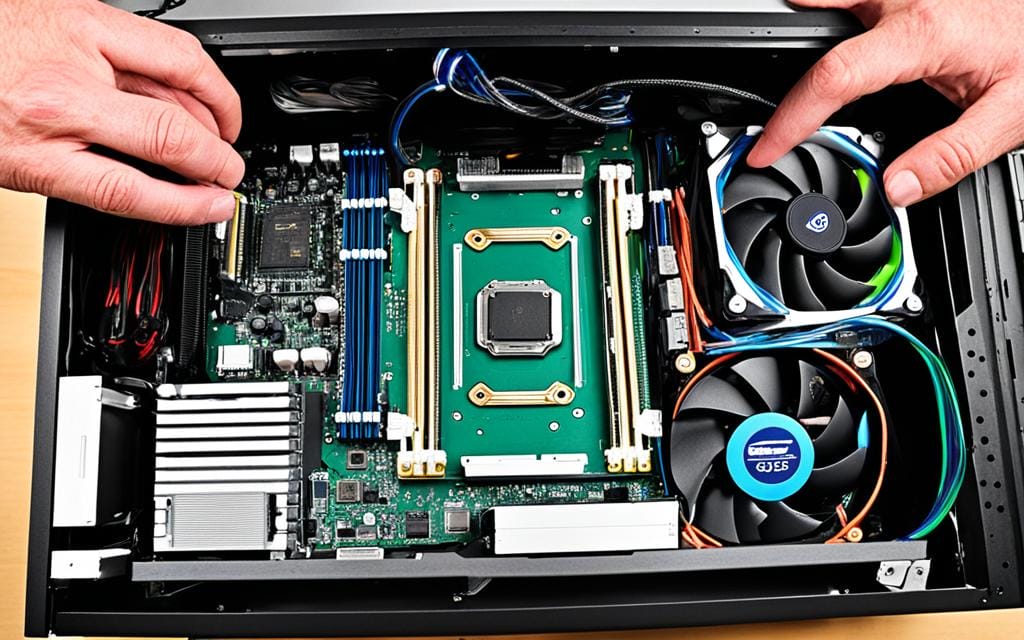
Now, let’s start building your custom PC. We’ll choose the best parts and put them together. This guide shows you step by step how to get ready and install your CPU and cooler. Just follow along to make your dream PC a reality.
Preparing the Workspace
Make sure your work area is clean and clear. Find a flat surface that’s free of junk and safe to use. Good lighting is key to seeing everything well. And don’t forget to touch something metal to get rid of any static electricity.
Installing the CPU and Cooler
The CPU, also known as the brain, must be put in right. First, take it out of the box gently. There are fragile pins on the bottom. Place it into the slot on your motherboard carefully, making sure it’s lined up correctly. With the CPU in place, you’re ready for the cooler.
Each CPU cooler might need a different setup, so check the manual. Start by adding thermal paste to the CPU. Then, place the cooler on top and fix it with the given screws or brackets. Don’t forget to connect the cooler to the motherboard.
With these steps done, your PC is on its way to being top-notch. Next, we’ll add the rest of the parts and turn it on.
Connecting the Cables and Components
After setting up key parts like the CPU and graphics card, it’s time to link everything together. We will help you connect drives, power supplies, and more easily. We’ll also give tips on keeping your PC’s insides looking neat.
Connecting Storage Drives
First, connect your drives. This could be an SSD and an HDD. Find the SATA ports on your motherboard. Then, plug the SATA cables into the motherboard and drives. Also, attach power cables from the PSU to the drives.
Powering Up the System
Now, hook up the PSU to power up the components. Plug the 24-pin connector into the motherboard. Connect the CPU’s 4-pin or 8-pin cable to the board. Also, link power cables to the graphics card and other parts.
Mastering Cable Management
Good cable management is key for a tidy PC. Organize the cables and use clips to keep them in place. This makes your PC look better and help it stay cool.
- Find the shortest cables needed for each part.
- Use ties or clips to keep cables tidy and away from moving parts.
- Don’t bend cables too sharply, to avoid damaging them.
- Neatly place extra cable length behind the motherboard or in empty areas of the case.
Following these steps will make your PC’s pc component connection clean and effective. This improves your system’s performance and makes it look great.
Configuring BIOS and Installing OS
Now that your custom-built PC has its hardware ready, configuring the BIOS is next. This is critical for your computer to work right, linking its parts to the software.
Understanding BIOS Settings
BIOS is the first thing that starts when you turn on your PC. It sets up the CPU, memory, and storage. Adjusting BIOS settings can boost your PC’s speed and make sure it’s set up for the final OS step.
To get into the BIOS, you usually press keys like F2, Delete, or F12 when your PC starts. Inside, you see settings to tweak your PC’s workings. Key areas include:
- Boot Options: Make sure the BIOS is ready to start up from the right place, like a USB or CD/DVD, to install the OS.
- CPU Settings: Change CPU settings like how fast it runs, its power, and savings modes if needed.
- Memory Configuration: Check that the BIOS knows the correct RAM type and amount in your PC.
- Storage Configuration: Confirm your drives, like hard drives and SSDs, are found and set up correctly.
- Security Settings: If needed, set BIOS security tools like passwords or Secure Boot.
BIOS details can differ based on your PC’s parts and the brand of the BIOS. But, the main goal is to be comfortable with the BIOS and to ensure everything is set before installing the operating system.
| BIOS Setting | Purpose |
|---|---|
| Boot Order | Determines the sequence in which the BIOS will search for a bootable device to start the computer. |
| CPU Settings | Allows you to adjust CPU-related parameters, such as clock speed, voltage, and power management. |
| Memory Configuration | Enables you to verify the amount and type of RAM installed in your system and make any necessary adjustments. |
| Storage Configuration | Ensures that all your storage devices, including hard drives and solid-state drives, are properly detected and configured. |
| Security Settings | Allows you to set up BIOS passwords, Secure Boot options, and other security-related features. |
By setting the BIOS just right and making sure your hardware is good, you pave a smooth path for your PC setup and operating system installation.
Testing and Optimizing Your New Build
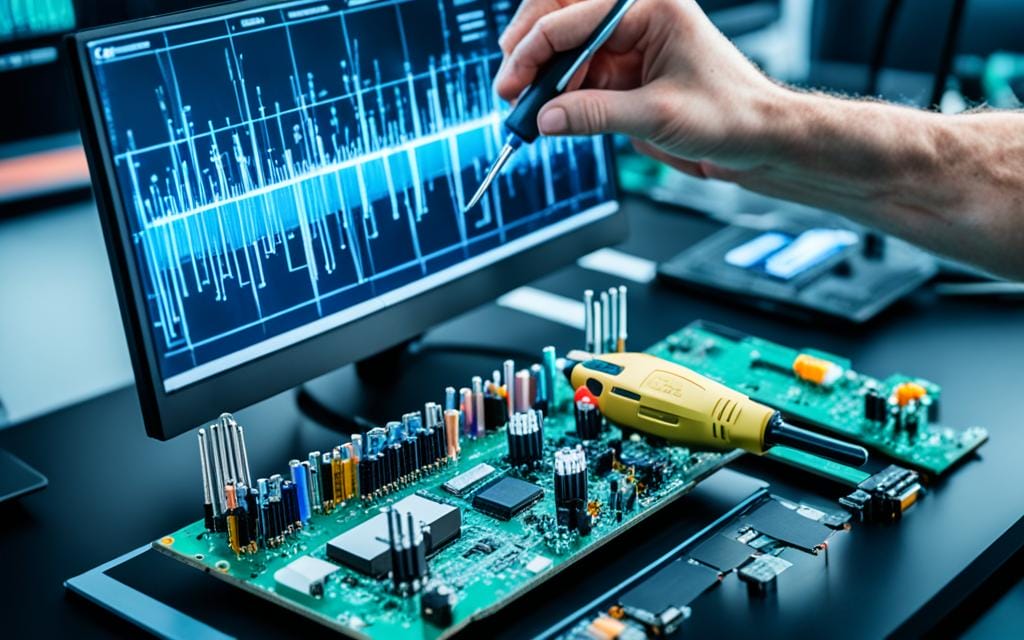
Congratulations on making your custom PC! Testing and optimizing it is the next step. We’ll show you how to make your PC work its best.
First, you need to test every part. Turn on your PC and check that all parts are in place. Make sure each piece does its job correctly.
- Run diagnostics with tools like 3DMark to see your PC’s power.
- Keep an eye on temperatures and power to make sure they’re okay.
- Look for any issues that might slow down your PC.
If your PC is stable, it’s time to boost its performance. This means adjusting the settings for better speed and power.
| Optimization Technique | Benefits |
|---|---|
| BIOS/UEFI Tweaks | Unlock hidden performance settings and overclock your components (if supported) |
| Driver Updates | Make sure all your drivers are up to date for better performance |
| Power Management Settings | Adjust power use to focus on performance instead of saving energy |
Setting up your PC right is key. It guarantees your PC can handle any task easily.
Maintaining Your Custom-Built PC
Having a custom-built PC is something to be proud of. But, it needs regular care to run well. This section will give you tips on cleaning, organizing cables, and other maintenance. By sticking to these, your system will stay fast and reliable for many years.
Cleaning and Upkeep Tips
Keeping your PC clean is crucial. Dust the outside with a soft cloth first. Next, use compressed air to blow out dust from inside parts like fans and vents. For tougher dirt, a soft-bristled brush or vacuum can do the job.
Keeping cables neat is also key. Well-organized cables help air flow better, which keeps your PC cool. Check your cables now and then to keep things looking good and ensure the air moves freely.
Last but not least, check the thermal paste on your CPU. This paste helps cool down the CPU. It can dry up over time. Remember to reapply it every few years for top cooling performance.
FAQ
What are the key benefits of building a custom PC?
Building your own PC lets you make it fit your needs perfectly. You can boost its performance and often spend less than on a ready-made one.
How do I choose the right CPU for my custom PC?
Think about what you need from your CPU. Look at things like its design, how many cores it has, and if it can be overclocked.
What are the important factors to consider when choosing a motherboard?
Look at what your motherboard offers, its size, and make sure it works with your CPU and other parts well.
What are the differences between SSDs and HDDs, and how do I choose the right storage solution?
SSDs are quick while HDDs store more for less money. Decide if you want speed, lots of space, or a good mix for your PC.
How do I select the right graphics card for my custom PC?
Choose a graphics card based on what you’ll do most (like gaming or creating), the resolution you prefer, and how powerful it needs to be.
How do I determine the appropriate power supply (PSU) for my custom PC?
Find a PSU based on its power, how efficient it is, and if it fits your parts. This is key for a smooth-running PC.
What are the different types of CPU coolers, and how do I choose the best one for my custom PC?
There are coolers that use air and some that use liquid. Pick based on what’s quiet, cools best, and fits in your PC.
What are the key steps in the PC assembly process?
To build your PC, get your space ready. Then, put in your CPU and cooler, link up all parts, handle the wires well, and set up the BIOS and OS.
How do I properly configure the BIOS and install the operating system on my custom-built PC?
Setting up the BIOS right and putting in your OS are the last big jobs. They get your PC ready to work well.
What steps should I take to test and optimize the performance of my new custom-built PC?
Test all parts, do checks, and tweak as needed. This makes sure your PC runs smoothly and at its best.
What are some essential maintenance tips for keeping my custom-built PC running smoothly?
Keep your PC clean and your cables neat. These small tasks help it stay reliable and perform well over time.

