How to Screenshot on PC: Quick and Simple Guide
In today’s digital world, knowing how to screenshot on PC is key. Screenshots help me capture important info, share fun moments, or make visuals for presentations. This guide is for everyone, from beginners to those wanting to get better at PC screen capture.
I’ll show you different ways to capture your screen on a PC. My examples and steps are easy to follow. Let’s learn how to take effective screenshots that improve communication and boost productivity!
Understanding the Need for Screenshots
Screenshots are key for both personal and work communication. They let you capture what’s on your screen, which is very useful. They help in making tutorials, saving online chats, and more. Learning to use screenshots well can make digital talks better.
Common Uses for Screenshots
Here are some top ways people use screenshots:
- Creating how-to guides and tutorials for clearer understanding
- Saving online conversations for future reference
- Gathering information from websites quickly
- Documentation for bug reporting and tech support
- Design mockups or sharing visual ideas with colleagues
Benefits of Capturing Your Screen
Screenshots offer more than just a quick way to capture what’s on your screen. Here are the main benefits:
| Benefit | Description |
|---|---|
| Improved Organization | Screenshots help organize information better, making it easy to find important stuff later. |
| Visual Documentation | They provide clear visual proof, helping to quickly understand complex topics. |
| Ease of Sharing | Sharing screenshots makes it easy to pass on information, whether for work or teaching. |
Different Methods to Screenshot on PC
Taking screenshots on a PC has several effective ways. Knowing these methods can boost your productivity and make tasks easier. I’ll cover keyboard shortcuts and the Snipping Tool, both great for quick screen captures.
Using Keyboard Shortcuts
Windows has many keyboard shortcuts for screenshots. These shortcuts help you capture your screen efficiently. Here are some top shortcuts:
- Print Screen (PrtScn): Copies the whole screen to the clipboard.
- Alt + Print Screen: Copies only the active window to the clipboard.
- Windows + Shift + S: Opens a snip tool for selecting a screen area to capture.
Using Built-in Snipping Tools
The Windows Snipping Tool is a simple way to take screenshots. Here’s how to find it:
- Type “Snipping Tool” in the Windows search bar.
- Open the application.
- Select the snip type: free-form, rectangular, window, or full-screen.
- Click and drag the cursor to capture what you want.
These screenshot functions are great for any need, personal or professional. Here’s a quick summary:
| Method | Type of Capture | Access Method |
|---|---|---|
| Print Screen | Entire Screen | Keyboard Shortcut |
| Alt + Print Screen | Active Window | Keyboard Shortcut |
| Windows + Shift + S | Custom Area | Keyboard Shortcut |
| Snipping Tool | Customizable Options | Application Access |
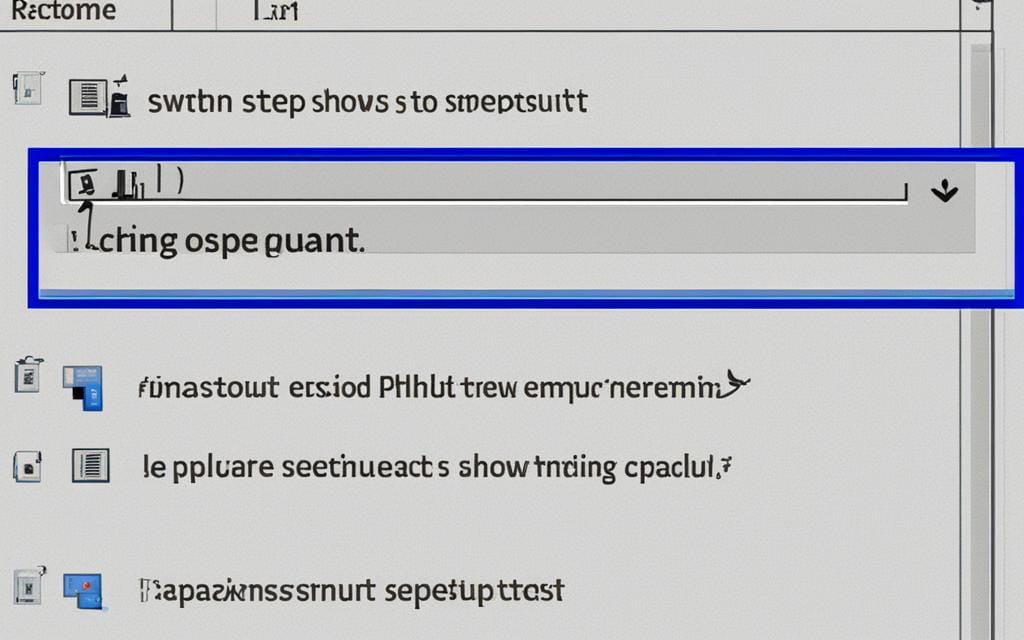
How to Screenshot on PC: Step-by-Step Instructions
Screenshots are useful for many things, like saving memories or helping with work. This guide will show you how to take screenshots in three ways: full screen, specific window, and custom area. These easy steps will help you capture your screen for any need.
Capturing the Entire Screen
To take a screenshot of the whole screen, use the Print Screen (PrtSc) button. It’s simple and effective. Here’s how:
- Press the PrtSc button. This copies the full screen to your clipboard.
- Open an image editing program like Paint.
- Paste the screenshot by clicking ‘Ctrl + V’ or selecting ‘Paste’ from the menu.
- Save the image in your preferred format (e.g., PNG or JPEG).
Capturing a Specific Window
For a screenshot of just one window, it’s even simpler. Here’s how:
- Click on the window you want to capture to make it active.
- Press ‘Alt + PrtSc’. This captures only the active window.
- Open an image editing program and paste the screenshot as mentioned earlier.
Capturing a Custom Area
For focusing on a specific part of the screen, use a custom area capture. You can use the Snipping Tool or Windows’ built-in features:
- Open the Snipping Tool from the Start menu or search bar.
- Click on ‘New’ and select the area you want to capture.
- Draw a rectangle around the desired area to create the screenshot.
- Save the snip using the File menu.
With these methods, I can easily capture anything on my screen. Whether it’s the full screen, a specific window, or a custom area, I have the tools and knowledge to do it without trouble.
How to Use the Snipping Tool Effectively
Using the Snipping Tool boosts my screenshot skills. It’s a built-in Windows feature that lets me capture images in various ways. Knowing how to find it, change settings, and save images is key for better workflow.
Accessing the Snipping Tool on Windows
Getting to the Snipping Tool is easy. I just look for it in the Start menu. For Windows 10 and later, typing “Snipping Tool” in the search bar does the trick. Or, I can use the shortcut Windows Key + Shift + S for quick access.
Adjusting Snip Options
The Snipping Tool has different modes for my needs. I can pick from:
- Free-form Snip: Capture any shape I want.
- Rectangular Snip: Draw a rectangle around what I want to capture.
- Window Snip: Take a screenshot of an open window.
- Full-screen Snip: Capture the whole screen.
This flexibility lets me get exactly what I need for editing screenshots.
Saving and Editing Your Snips
Saving screenshots is easy after capturing them. I hit “File” and choose “Save As” to save in formats like PNG or JPEG. Then, I can edit my screenshots with tools like a highlighter or pen. This is useful for making my images stand out before sharing them.

Using Third-Party Screenshot Software
In my search for effective screenshot tools, I found many third-party options that improve the screenshot process. These tools have extra features not in standard apps. I’ll look at popular apps like Greenshot, Snagit, and Lightshot. We’ll compare their features, ease of use, and prices.
Popular Screenshot Tools for PC
Here are some top screenshot software choices:
- Greenshot: A free, open-source tool, Greenshot is simple and efficient. It makes taking screenshots easy, with annotation and export options.
- Snagit: This premium tool has advanced features like video capture and lots of editing options. Its easy interface is a hit with professionals making visual content.
- Lightshot: A small app that quickly captures screenshots. It has basic editing and makes sharing captures online easy.
Comparison of Features
To help you pick the best tool, I made a comparison of their key features:
| Feature | Greenshot | Snagit | Lightshot |
|---|---|---|---|
| Price | Free | $49.95 | Free |
| Editing Tools | Basic Annotation | Extensive Editing | Basic Editing |
| Video Capture | No | Yes | No |
| Customizable Shortcuts | Yes | Yes | No |
| Export Options | Multiple Formats | Multiple Formats | Direct Upload to Cloud |
Looking at these features can help you find the right tool. Whether you need something simple for occasional use or a powerful app for work, there’s a fit for you.
Tips for Taking Great Screenshots
Taking great screenshots means paying attention to details. I focus on lighting and display settings to make sure my images are clear and look good. Editing screenshots helps me present information well and improve the quality of my images.
Lighting and Display Settings
Good lighting is key for great screenshots. Here are some tips for better lighting and display settings:
- Use natural lighting to avoid shadows and glare.
- Adjust screen brightness to ensure clear visibility of details.
- Consider using anti-glare screens if you’re in a bright environment.
- Set the display settings to the optimal resolution for sharp images.
Best Practices for Editing Screenshots
Editing screenshots is important for clarity and presentation. Here are some best practices I follow:
- Crop unnecessary elements to focus on the main content.
- Annotate screenshots with relevant notes to add context.
- Adjust colors and contrast to enhance readability.
- Always save in high-resolution formats to maintain quality.
Sharing and Storing Your Screenshots
Sharing and storing screenshots makes work easier and keeps important info safe. I use different ways to manage my screenshots. This keeps them easy to find and share with others. Cloud services and local storage are key in my process.
Where to Save Your Screenshots
Cloud storage like Google Drive and Dropbox works great for saving screenshots. They let me get to my files from anywhere, keeping my screenshots ready. Sometimes, I also use my computer’s storage for quick access offline. Here’s how these options compare:
| Storage Option | Accessibility | Security | Backup |
|---|---|---|---|
| Cloud Services | Access from any device with internet | Typically high, but check the service | Automatic backups available |
| Local Storage | Access limited to your device | Depends on hardware security | Manual backups required |
How to Share Screenshots Easily
For sharing screenshots, I choose direct ways like email, social media, or messaging apps. Each has its benefits for easy sharing. Here are some top methods I suggest:
- Email: Quick and allows for detailed communication.
- Social Media: Perfect for sharing visually compelling content.
- Messaging Apps: Instant sharing for quick discussions.
- Cloud Links: Ideal for sharing larger groups of screenshots.
Troubleshooting Common Screenshot Issues
Users often face problems when trying to take screenshots, especially with keyboard shortcuts and the Snipping Tool. Knowing how to fix these issues can make troubleshooting easier. Here, I’ll share tips for common keyboard shortcut and Snipping Tool problems.
Solutions for Keyboard Shortcut Problems
If your keyboard shortcuts for screenshots don’t work right, try these steps:
- Make sure the keys are pressed together and are working properly.
- Check if other apps are blocking the shortcuts. Things like gaming overlays or screen recording tools can cause issues.
- Look at your keyboard settings. Sometimes, the wrong layout can cause problems.
- Try restarting your computer. A simple reboot might fix temporary glitches with shortcuts.
Fixing Snipping Tool Errors
If you’re having Snipping Tool errors, follow these steps:
- Make sure the Snipping Tool is up to date. Look for updates in Windows Settings.
- Fix the Snipping Tool by going to “Apps & features” in Settings, finding Snipping Tool, and choosing “Modify” or “Repair”.
- Restarting your device can help clear out background processes that might be slowing down the Snipping Tool.
- If you’ve changed your display settings recently, go back to the previous setup. It might fix the Snipping Tool issues.
Conclusion
In this guide, we’ve covered how to take screenshots on a PC for personal, work, or school use. Learning to screenshot can boost your productivity and improve how you share information. You can use keyboard shortcuts, the built-in Snipping Tool, or third-party apps, depending on what you need.
Each method has its own advantages, making it easier to capture what you need on your screen. Trying out these methods will help you get the hang of it quickly. I suggest trying different techniques to see which one suits your needs best.
Using screenshots more often will make it simpler to share your ideas with others. Embrace the skill of screenshotting and add it to your digital tools today!
FAQ
How do I take a screenshot using keyboard shortcuts on my PC?
To take a screenshot on my PC, I press the “Print Screen” key on my keyboard. For a specific window, I use “Alt + Print Screen”. Or, I select an area with “Windows + Shift + S”.
What is the Snipping Tool, and how can I use it?
The Snipping Tool is a tool in Windows for taking screenshots. I find it by searching for “Snipping Tool” in my start menu. It lets me choose from different capture types like Free-form snip, Rectangular snip, Window snip, or Full-screen snip.
What are some popular third-party screenshot tools?
Popular third-party tools include Greenshot, Snagit, and Lightshot. They offer various features like advanced editing and easy sharing.
How can I ensure the quality of my screenshots?
For high-quality screenshots, I adjust my screen lighting and display settings. I also focus on resolution and edit the images to make them clear and attractive.
What are the best ways to share my screenshots?
I share screenshots through cloud services like Google Drive and Dropbox. For sharing, I use social media, email, or messaging apps. I keep security in mind when sharing.
What should I do if my keyboard shortcuts for screenshots aren’t working?
If shortcuts don’t work, I check my keyboard first. Sometimes, restarting my PC or checking for conflicts with other programs helps. I also look up troubleshooting guides online for more help.
Can I edit my screenshots once I take them?
Yes! After taking a screenshot, I edit it with tools like the Snipping Tool, Paint, or Adobe Photoshop. I can crop, annotate, or adjust the colors.
