Ligue 1: The Rise of French Football and Its Global Impact
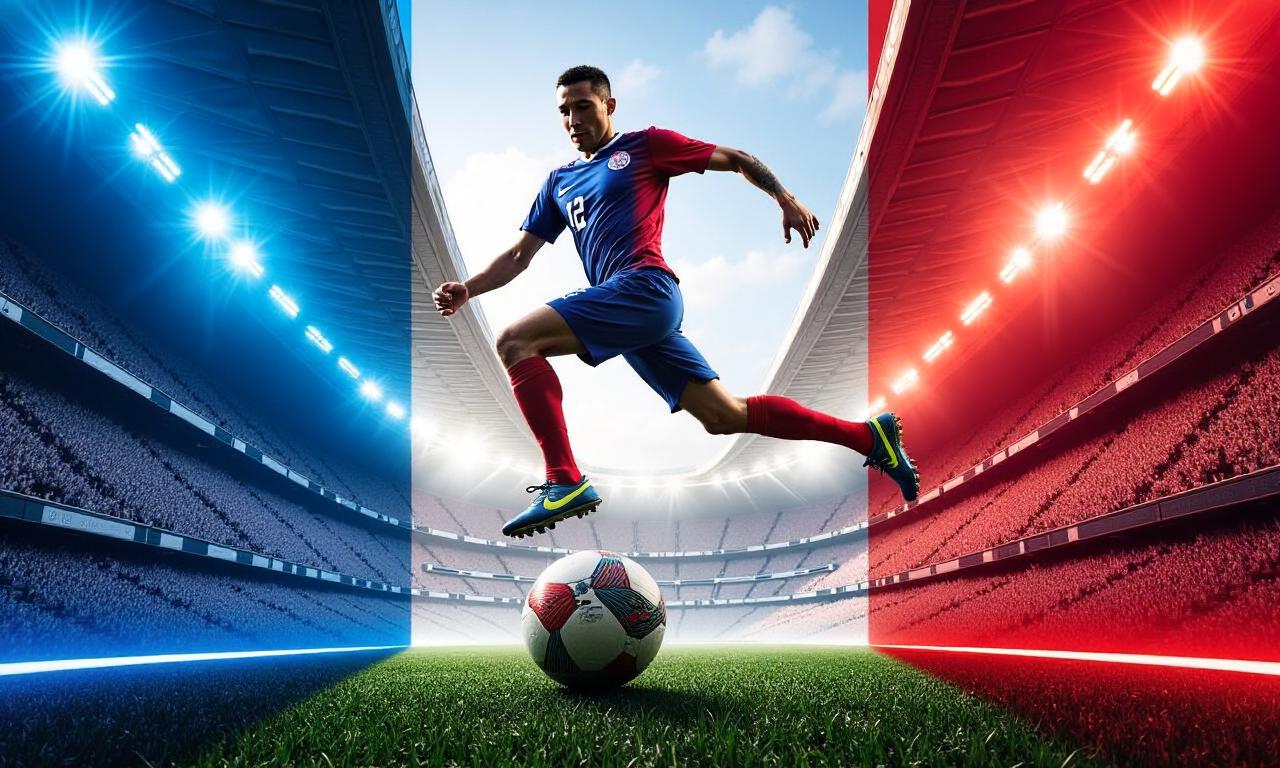
Ligue 1, the top-tier football league in France, has emerged as one of the most competitive and influential leagues in the world. Known for its…
 Trend
Trend Ligue 1, the top-tier football league in France, has emerged as one of the most competitive and influential leagues in the world. Known for its…
 Trend
Trend Ligue 1, also known as Ligue 1, is the top-tier football league in France, representing the pinnacle of ligue 1 football. As one of the…
 Tutorial
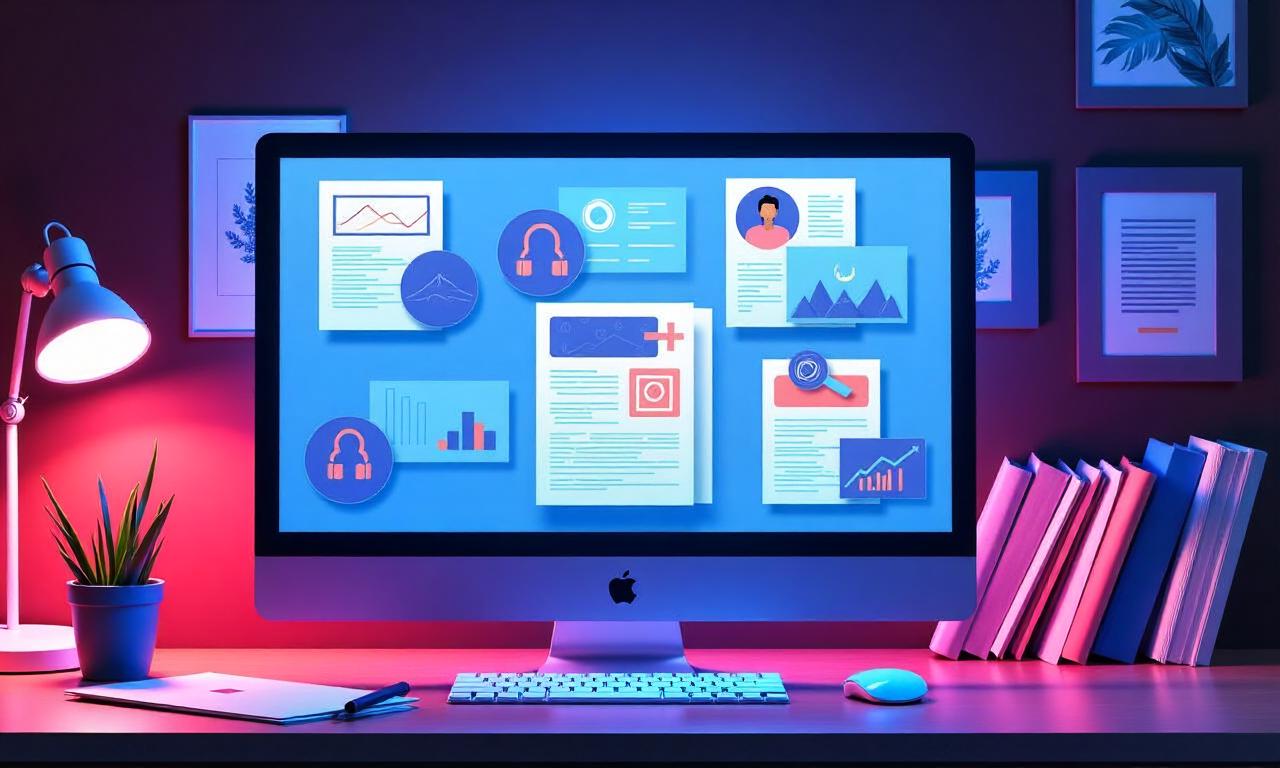
 In today’s fast-paced digital world, tech tools have become essential for enhancing productivity and achieving efficiency in both personal and professional settings. From project management…
 PC
PC The future of technology is rapidly evolving, driven by groundbreaking innovations and a relentless drive for progress. As we stand at the crossroads of digital…
 Trend
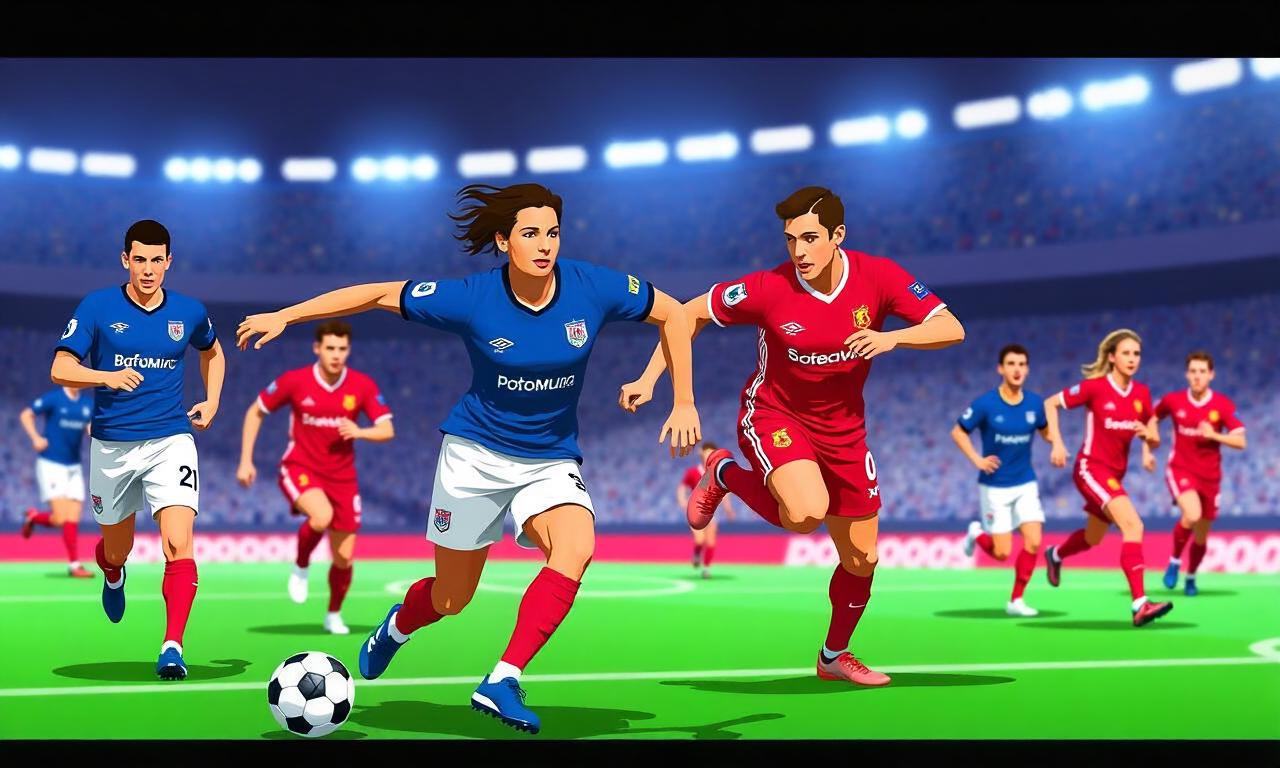
Trend The 2023 season of Ligue 1 has been a spectacle of drama, talent, and unpredictable twists, solidifying its position as one of the most competitive…
 Trend
Trend The year 2016 was a pivotal moment in the evolution of technology, culture, and everyday life. As the digital landscape continued to accelerate, 2016 trends…
 Trend
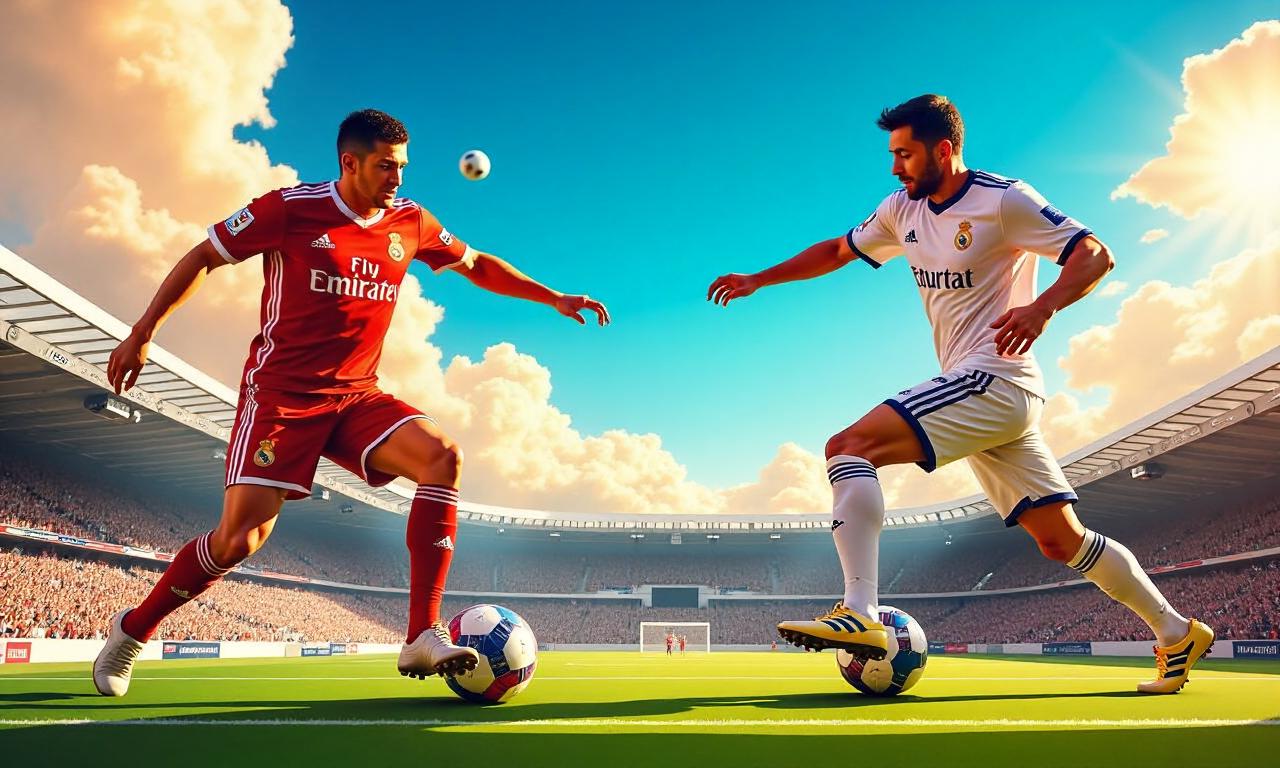
Trend The rivalry between Albacete and Real Madrid has long been a fixture in Spanish football, symbolizing the clash between a historic powerhouse and a spirited…
 Tutorial
 In today’s fast-paced digital world, hardware maintenance is a crucial skill for anyone relying on technology for work, study, or daily life. Whether you’re a…
 PC
PC The world is on the brink of a technological revolution that promises to redefine the way we live, work, and interact with our environment. From…
 Tutorial
 In today’s fast-paced digital world, productivity has become a crucial skill for individuals and businesses alike. Whether you’re a student, a remote worker, or a…
